
A burst supply line or a failed toilet fill valve can soak drywall and flooring in minutes. When water is moving, every second matters. The simplest way to limit damage is to know exactly where to shut things down and how to do it safely. Spending a single afternoon locating and labeling your main water shutoff, fixture stops, water heater controls, and drain cleanouts can save you hours of chaos during an emergency. This guide explains where to look, how different valves work, what not to touch, and how to run a quick practice drill so your household can act with confidence when it counts.
-
Locating the Main Water Shutoff and Testing It
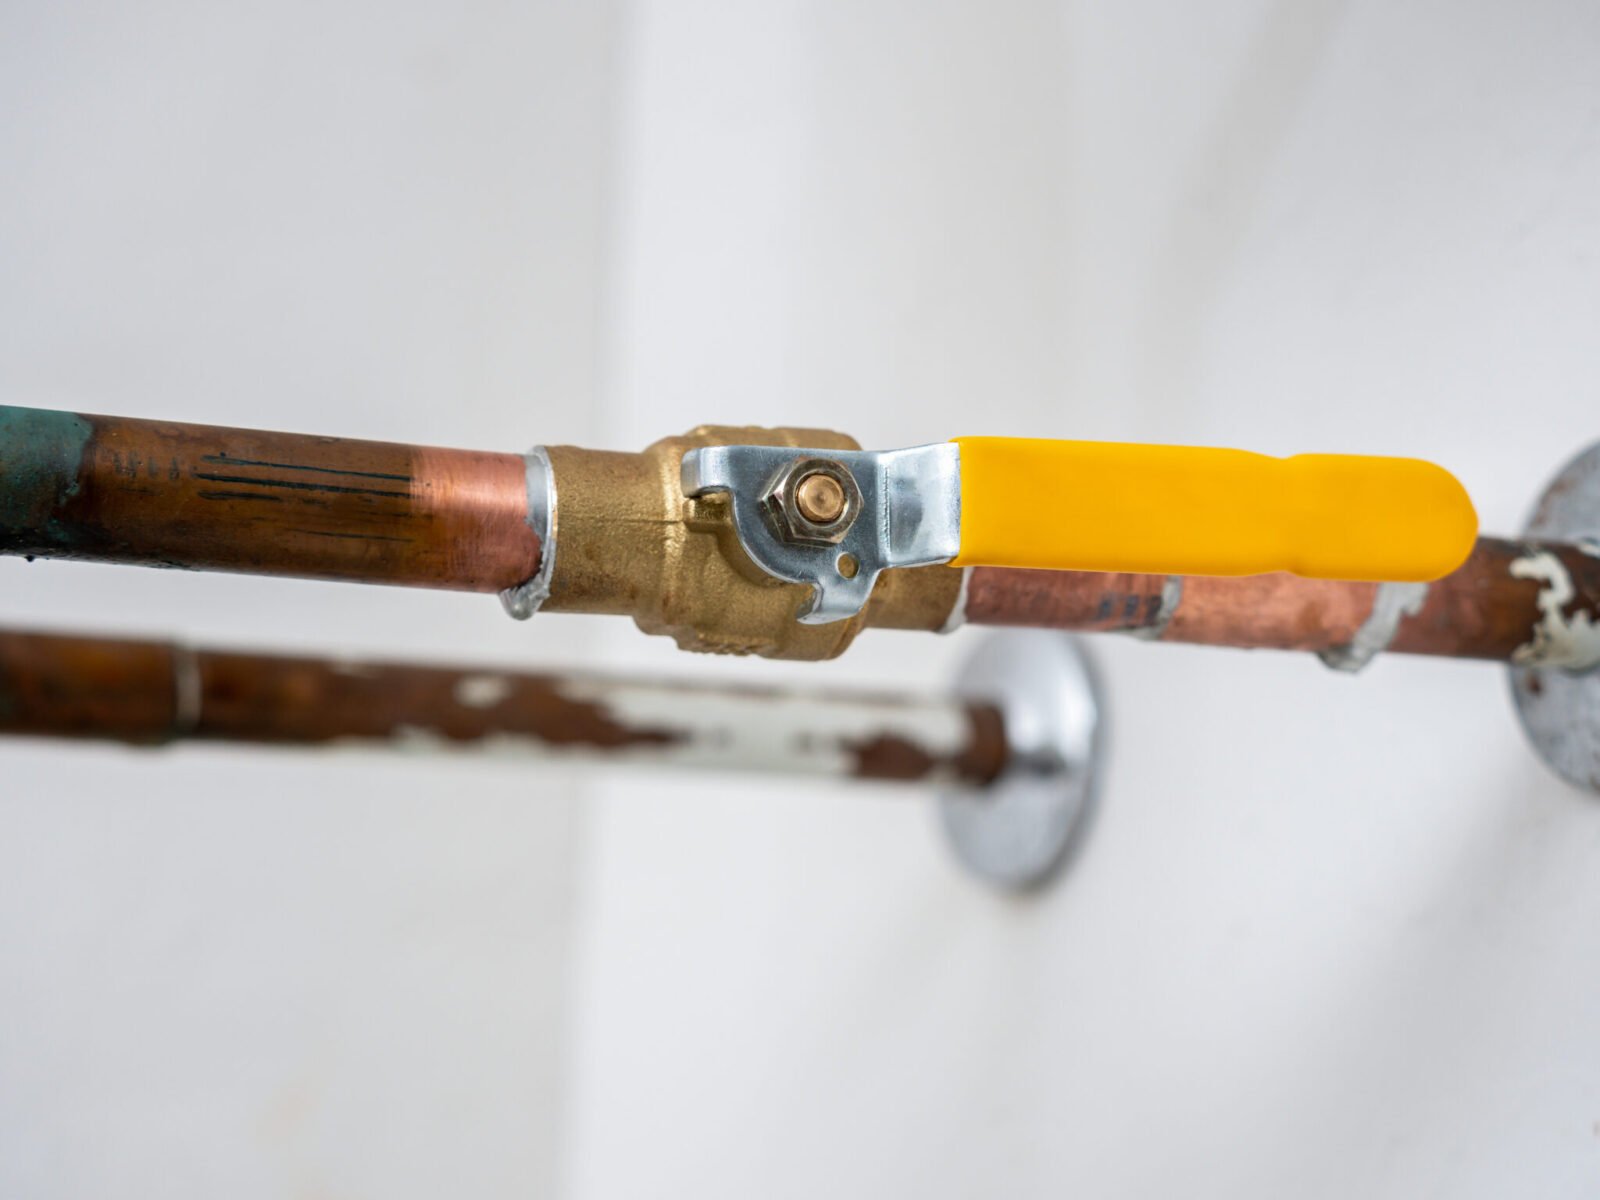
Start with the main water shutoff. In many homes, it sits where the water line enters the building: along a basement wall facing the street, in a crawlspace, or in a utility closet or garage. You might see a water meter and, nearby, a valve. A modern ball valve uses a lever; turning it a quarter turn so the handle is perpendicular to the pipe closes the water. Older gate valves use a round wheel; turn clockwise to close, but do not force a stuck stem or it may shear. If there is a street side curb stop, leave that to the utility.
If you cannot find or operate these valves safely, contact a licensed pro. For residents who want local help, a plumbing contractor in Abington, PA can identify and label the main, verify that it actually shuts off, and advise on replacing a failing gate valve with a quarter turn ball valve. Once located, tag the valve, keep a flashlight nearby, and “exercise” the handle once or twice a year to reduce the chance it seizes when you need it.
After closing the main, open a basement or first floor laundry tub to relieve pressure and drain lines. On private wells, switch off the well pump to prevent it from running dry. If your system has a pressure reducing valve (PRV) near where the line enters the home, note its location too. A failed PRV can drive pressure high enough to trigger banging pipes, dripping faucets, or a water heater’s relief valve. Knowing where it is helps a technician test and reset it quickly.
-
Isolating Fixtures: Stop Valves, Hose Bibs, and Appliances
Next, find fixture shutoffs so you can isolate a problem without cutting water to the whole house. Under sinks, look for angle stops on the hot and cold supplies; behind toilets, a single stop controls the fill. Turn stops clockwise to close. At the laundry, check for a single lever laundry box or two separate valves feeding the washer. If you still have rubber washer hoses, upgrade to braided stainless to reduce burst risk. For dishwashers and refrigerator icemakers, trace the small copper or PEX line back to its saddle or ball valve.
Consider a realistic scenario: a toilet’s fill valve sticks open and the bowl overflows. Rather than sprinting to the basement, reach behind the toilet and close the stop valve, lift the float to halt flow, then shut off the supply under the nearest sink if needed. After cleanup, check for a compromised wax ring if water reached the base. For outdoor faucets, locate the interior shutoffs and small bleeder caps so you can drain hose bibs before winter and avoid split pipes. If stops are seized or sweat soldered lines lack them, plan an upgrade to quarter turn ball stops during your next fixture replacement.
-
Water Heater Safety: Gas and Electric Controls You Should Know
Find your water heater and learn its controls. Every tank should have a temperature and pressure (T&P) relief valve with a discharge pipe pointed down to within a few inches of the floor. Never cap or plug this line; it protects against scalding temperatures and overpressure. For an electric heater, note the dedicated breaker in your panel. For gas, find the supply shutoff (a small lever that turns a quarter turn to close) and the gas control dial on the valve body with settings like “on,” “pilot,” and “off.” If you smell gas, leave the area and call your utility or emergency services before touching anything.
Watch for an expansion tank near the heater, especially on systems with a PRV. That small tank absorbs thermal expansion; when it fails, you may hear water hammer, see faucet aerators clogging with debris, or find the T&P dripping. A catch pan under the heater with a drain line can limit damage from a sudden tank leak. Once a year, carefully lift and release the T&P test lever to verify it moves freely; on older valves, be prepared that exercising the lever could cause it to weep, which is a sign it may need replacement.
-
Sewer, Drain, and Sump Access Points That Speed Emergency Service
Fresh water shutoffs are only half the story. Locate your main sewer cleanout so you can point a technician straight to it during a backup. Look for a capped PVC or cast iron fitting on the main drain line where it exits the foundation, a plug in the basement floor, or a cleanout just outside the house. Some homes have a backwater valve to reduce the chance of sewer backflow; its lid should be accessible and oriented with the flow arrow correct. If wastewater is standing in a floor drain, avoid opening a cleanout without protective gear, and stop all water use (showers, laundry, dishwasher) to prevent adding to the backup.
Picture a heavy rain, then a basement floor drain starts to gurgle and overflow. Move boxes and rugs off the floor, verify the sump pump has power and that its check valve is intact, and call a professional to attempt a camera inspection or snaking from the cleanout. For minor clogs at sinks or toilets, a hand auger or closet auger is safer than chemical drain openers, which can corrode pipes and create a hazard for anyone who later works on the line. When you call for help, be ready to describe which fixtures are affected, how quickly the issue appeared, and where your cleanouts are located.
Labeling, Documentation, and a 10 Minute Dry Run
Turn this knowledge into action. Label each valve with a durable tag and a simple note: main shutoff, water heater gas, laundry hot, laundry cold, outdoor faucet shutoff, and cleanout. Add arrows showing open and closed positions, and keep a photo inventory on your phone. Assemble a small kit with an adjustable wrench, flashlight or headlamp, plumber’s tape, a few rags, and a bucket. Run a 10 minute drill with your household: start at the main, time how quickly you can close it, then practice closing a toilet stop and the washing machine valves. That short rehearsal lowers stress when a real leak hits.
After an emergency shutoff, open a low faucet to drain lines, protect floors with towels, and document damage with photos for your insurer. If you smell sewer gas, ventilate the area and avoid open flames. When restoring water, purge air and sediment through a laundry tub first to prevent sputtering at delicate faucets and shower cartridges. Schedule replacement for any seized or weeping valves and consider upgrades like braided washer hoses, quarter turn stops, and a water alarm near the heater or under the kitchen sink. A home with clearly labeled shutoffs and accessible cleanouts helps any professional work faster, which can shorten downtime and reduce repair costs.