
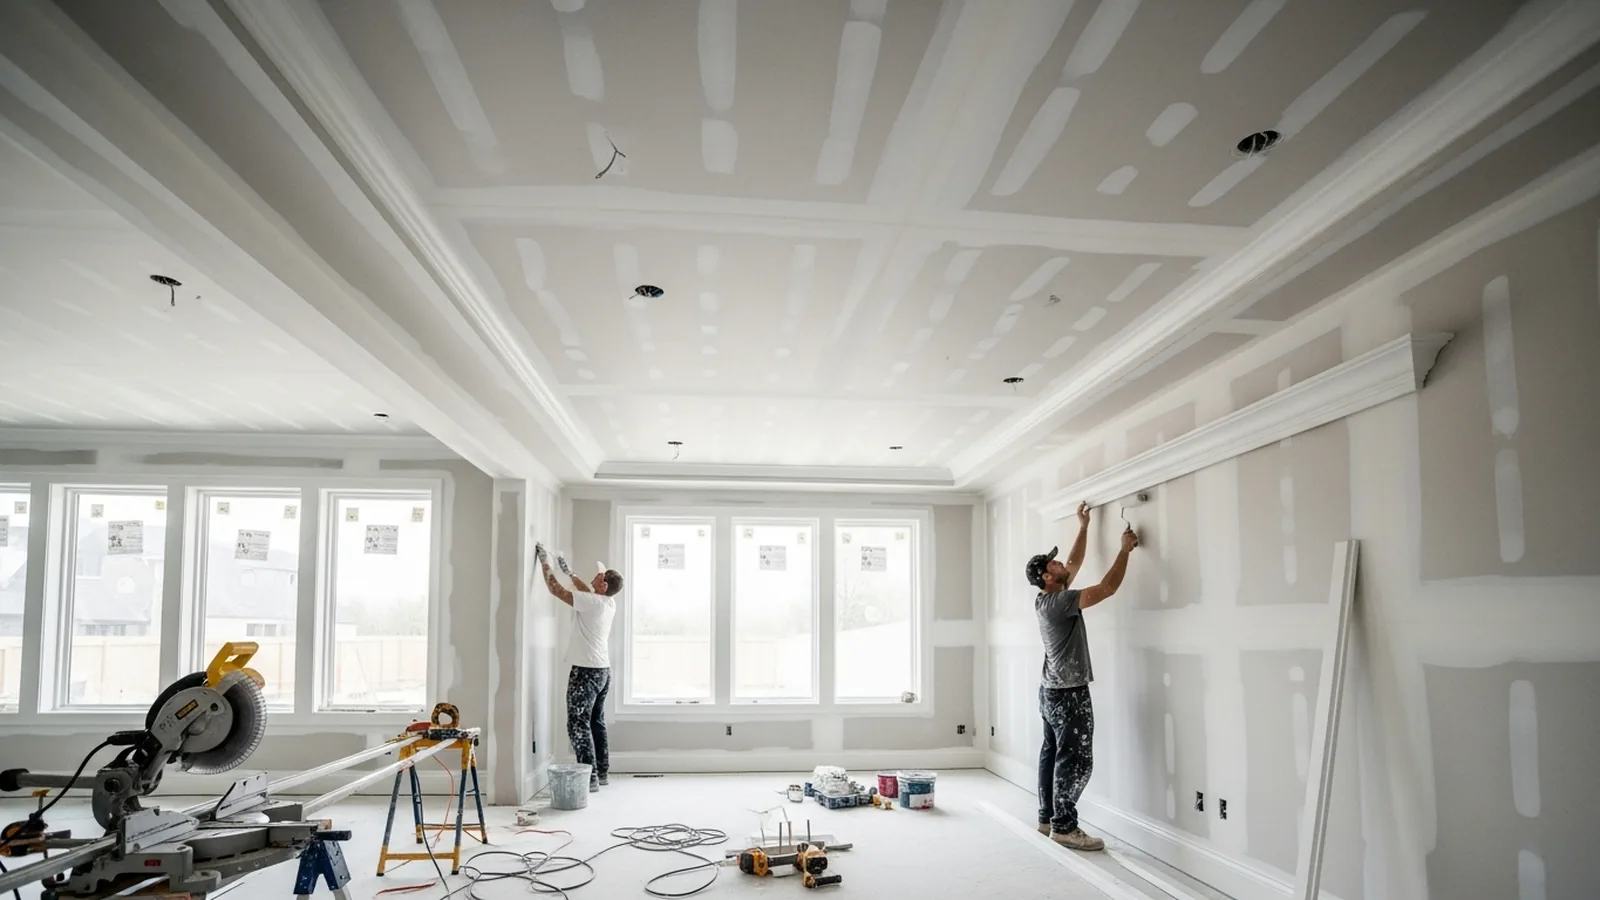
A successful repaint is less about a single “perfect” paint and more about the order of operations. The sequence you follow indoors and outdoors determines adhesion, appearance, and how much your daily routine is disrupted. Plan the work in the right order, match primers and caulks to the problems you find, and choose application methods that fit the surfaces. The result is a finish that looks uniform on day one and stands up to wear, humidity, and weather. Here is a practical framework for homeowners planning interior and exterior repainting projects in lived‑in spaces.
-
Plan the order: occupied rooms inside and weather windows outside
Start with a calendar and a floor plan. Map a room‑by‑room rotation that keeps one clean area available at all times, then schedule trim and doors before walls so sanding dust and caulk smears do not mar fresh wall paint. If you are weighing DIY versus hiring help for parts of the job, compare scopes and timing for professional interior and exterior painting services so prep, priming, and finish coats line up without idle days. Outside, look at temperature, dew point, and sun exposure. Paint in shade where possible and avoid coating as surfaces cool toward evening dew.
Sequence by color as well. Covering a dark wall with a pale eggshell often takes an extra coat or a transitional gray primer, so slot those rooms earlier to keep the schedule realistic. For exteriors, wash, dry, then scrape and sand before any repairs so you do not trap chalk under filler. Allow pressure-washed siding or masonry to dry fully; a moisture meter helps verify that wood and stucco are within the manufacturer’s recommended range before primer touches the surface.
-
Surface diagnostics that predict adhesion and durability
Adhesion failures usually begin before the first brush stroke. Use a quick tape test on glossy trim or factory-finished doors: score a small grid with a utility knife, press painter’s tape firmly, and pull. If flakes lift, plan on scuff sanding (120–150 grit) plus a bonding primer or a liquid deglosser. In kitchens and handrails, degrease with a TSP substitute, then rinse thoroughly so residue does not interfere with curing. On exteriors, rub a hand across siding to check for powdery chalk; heavy chalking calls for more than a rinse before painting.
Identify moisture and staining. Brown rings on a bathroom ceiling point to previous leaks or persistent condensation. Those areas need sealing with a stain-blocking primer before any ceiling flat. Mildew appears as black or gray colonies that do not wipe away cleanly; treat with a cleaner containing mildewcide and rinse well. For wood, probe soft spots and check trim ends and sills. Damp or decayed wood needs to dry and be repaired with wood epoxy or replacement boards before primer. Painting damp lumber or caulking wet joints is a common mistake that leads to peeling and split seams.
-
Primer and caulk: match products to problems, not just surfaces
One primer does not fit every task. Use a bonding primer over old oil enamel or glossy cabinetry to help waterborne topcoats grip. Choose a shellac or oil-based stain blocker to lock in water stains and nicotine and to resist tannin bleed on cedar and redwood. Masonry demands a breathable primer designed for stucco or block. Bare metal benefits from a rust-inhibitive metal primer before finish. The trade-off is odor and dry time: solvent-based primers block stains aggressively but require more ventilation; waterborne bonding primers are lower odor and faster to recoat but may need longer to reach full hardness.
Caulk movement matters. Seal narrow, static interior joints with a quality acrylic latex or siliconized acrylic that is paintable. For wider gaps that move with seasons, install backer rod first so the caulk forms an hourglass profile and can stretch without tearing. Do not caulk weep holes or siding laps that are meant to shed water. Outside, scrape loose paint, feather sand edges, spot-prime bare wood, then caulk after primer has dried. Inside, reinforce recurring cracks with mesh tape and setting-type joint compound rather than relying on caulk, which can print through paint and fail under movement.
-
Finish coats and application methods for a consistent film
Pick sheen by use and surface condition. Flat or matte hides minor texture on ceilings and low-traffic walls but is less scrubbable. Eggshell and satin wall paints strike a balance between washability and touch-up, making them good for family rooms and hallways. Semi-gloss or enamel on trim and doors resists scuffs and cleaning, but any surface dents will be more visible in higher sheen. In baths and kitchens, use moisture-resistant wall coatings with mildewcide and ventilate during cure. Deep or very bright colors often require an extra coat and longer cure before they resist marking.
Application affects appearance as much as product choice. Use a 3/8-inch microfiber roller for smooth walls, a 1/2-inch cover for light texture, and 3/4 inch on rough masonry or stucco. Keep a wet edge to avoid lap marks. Cut in with a quality angled sash brush and box multiple gallons of the same color for uniformity. On exteriors, spray-and-back-roll can drive primer and paint into rough grain for better coverage. For trim, spraying can yield a glassy finish but requires careful masking and dust control; brushing offers more control on small profiles but can leave visible brush lines. Choose the method that fits the surface and your tolerance for prep time.
Protection, cleanup, and curing to keep the finish intact
Protect the work area so cleanup is predictable. Use rosin paper or leakproof floor protection rather than thin plastic alone, and tape it to baseboards, not the floor. Remove switch plates and door hardware; label everything for easy reinstallation. Vacuum sanding dust with a HEPA bag before priming so particles do not telegraph through topcoats. After the final coat, respect recoat and re-entry times on the label. Many waterborne paints are dry to the touch in hours but take 2–4 weeks to reach full cure. During that window, avoid scrubbing walls, use gentle cleaners, and choose delicate-surface tape if masking is unavoidable.
Exterior protection is about timing and maintenance. Aim for stable weather 24–48 hours after painting and avoid coating hot surfaces in direct sun, which can cause flashing or poor leveling. Once cured, plan a gentle wash every year with a garden hose and mild detergent to remove dirt and mildew spores. Inspect caulk joints at window heads, sills, and south- or west-facing trim where movement and UV are highest. Touch up early: feather small chips with fine sandpaper, spot-prime if needed, and dab on boxed leftover paint. Keep a record of colors, sheens, and product lines so future touch-ups blend cleanly.
A durable repaint comes from disciplined sequencing, not rushing one impressive topcoat. Diagnose the surface, pick the right primer and caulk for the specific issues you see, and apply finish coats with methods that suit each substrate. Homeowners can often handle cleaning, basic patching, and color testing, then bring in help for specialized prep or large exterior sections. If you do hire, look for clear scopes that list prep steps, primer types, and weather plans, not just a final color and start date. The time invested up front pays back in fewer callbacks and years of easier maintenance.