
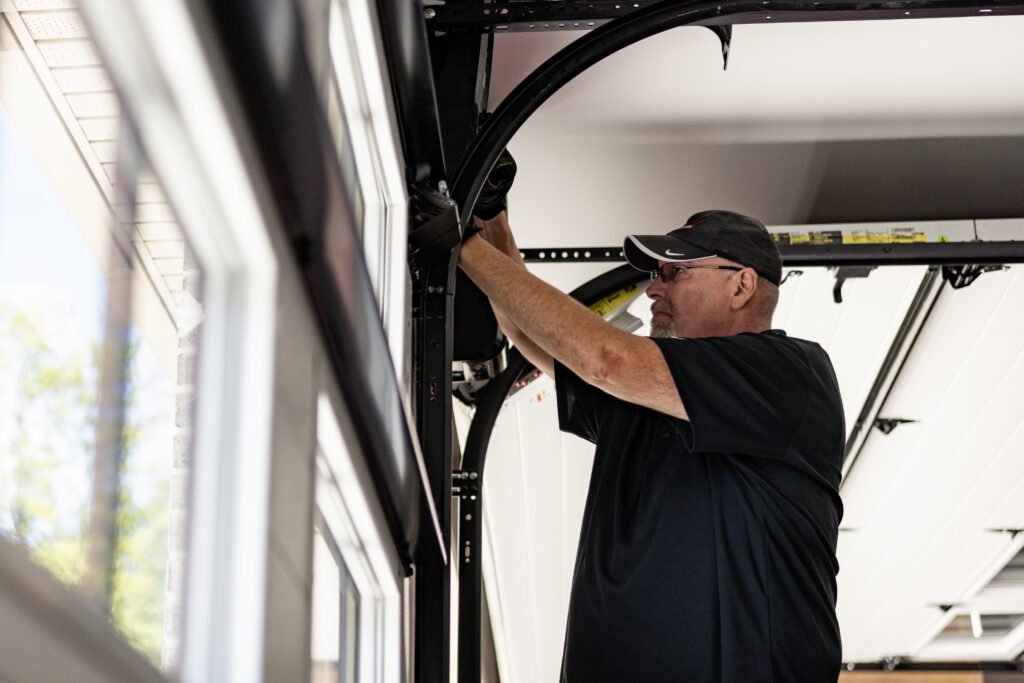
Ordering a new garage door is not just about width and height. The path your door must travel and the hardware that moves it depend on three clearances: headroom above the opening, backroom along the ceiling, and sideroom beside the tracks. Getting those dimensions right determines whether standard tracks fit, whether a jackshaft opener is feasible, and whether the springs can be safely sized for the door’s weight. This article explains what each clearance involves, how obstructions like ducts and low beams change your choices, and which checks prevent binding, gaps, and noisy operation. Measure once, plan the track and opener path, and you will avoid the most common surprises on install day.
-
Start With the Three Clearances: Headroom, Backroom, and Sideroom
Headroom is the distance from the finished top of the opening to the lowest overhead obstruction, such as ceiling joists or a steel beam. Backroom runs from the inside face of the header to the first ceiling obstruction where the horizontal tracks and opener will sit. Sideroom is the free space from each jamb to a wall, conduit, or shelving where flag brackets and vertical tracks mount. Standard torsion setups often need about 12 inches of headroom and door height plus 18 inches of backroom, while tight garages may require low headroom track or alternative openers. A trusted Garage door supplier can confirm the track radius and hardware that match your measured clearances.
Consider a one-car bay where an HVAC duct crosses the ceiling 8 inches behind the header. The door may clear the opening but strike the duct as it rolls to horizontal. Solutions include a low-headroom double-track system that tucks the top section sooner, rear torsion hardware that frees space at the header, or a wall-mount jackshaft opener that drives the torsion shaft without a center rail. Each choice depends on exact headroom above the header, side room for the spring pad, and a clean wall to mount the opener.
-
Match the Door Build to Hardware and Opener
The door’s construction sets its weight and balance target. A single-layer steel “pa” door is light but transmits more noise and heat. A double- or triple-layer insulated steel door is stiffer and quieter but heavier, which demands correctly sized torsion springs and sturdier track supports. Adding a row of glass lites brightens the garage yet adds weight up high, changing spring torque and sometimes requiring an extra reinforcement strut. If you are in an area with high winds, wind-rated sections and additional struts increase mass further; your hardware plan should account for that before choosing the opener.
Openers do not lift an unbalanced door; springs do. A chain drive trolley is economical and durable, a belt drive is typically quieter with fewer vibrations, and a jackshaft clears ceiling space but needs a torsion shaft, adequate side room, and a solid spring pad anchored into framing. Heavier, insulated doors often pair best with belt drive units to keep operation smooth. Still, the top section must carry an opener bracket and a continuous reinforcement strut to prevent tearing. Avoid cranking up force settings to mask a poorly balanced door. If the door drags or won’t hold mid-travel by hand, change spring torque before dialing opener force.
-
Confirm Track Path and Obstructions Before Ordering
Track radius determines how quickly the door transitions from vertical to horizontal. A12–2 or15-inchh radius track is common, while high-lift or vertical-lift systems move the door closer to the ceiling before turning, which is popular above car lifts and in shops with tall ceilings. Map the horizontal track line to the first light fixture, sprinkler pipe, or angle iron supporting the opener. Make sure flag brackets clear the jambs and that hanger angles can reach solid framing on the ceiling. An unlevel header or a twisted jamb will show up as rollers pinching the tracks or daylight along one stile after installation.
A frequent mistake is trying to reuse old tracks with a new door. Tracks vary by gauge, radius, and hinge offset geometry between brands and model lines. Mixing them can make the rollers bind on curves or leave sections racked out of square. New doors should ride on their matching tracks and hardware kit. While you are planning, check that jambs and the header are sound,d and that lag screws will bite into structural framing, not drywall or rotted wood. Proper anchorage keeps tracks plumb and quiet under load.
-
Square the Opening and Seal Against the Weather
Even a precisely hung door will leak and rub if the opening is out of square or the floor is not level. Check the jambs for plumb and the header for level. On the floor, a long straightedge reveals dips and slopes that create light gaps. Bottom astragal options include bulb, TT-style,e and U-shaped seals that slide into an aluminum retainer. For modest slopes, a thicker profile or a retainer with adjustable channels can help the seal meet the slab. Around the perimeter, replace brittle vinyl with double fin weatherstripping that compresses evenly against the section edges.
Picture a two-car garage where the right side of the slab falls away by half an inch. Without planning, the right corner will show daylight even with new weatherstripping. One fix is a tapered bottom seal that is thicker on the low side; another is a glued rubber threshold sized to the door sweep, installed after verifying water still drains away from the garage. Both options have trade-offs: a threshold can be a toe stubber for wheeled tools, while an extremely thick seal can make the opener work harder at full close unless you fine-tune travel.
Safety Checks and After Installation Setup
Before connecting the opener, pull the release cord and lift the door by hand. A well-balanced door should stay near mid-travel without racing up or crashing down; if it doesn’t, spring adjustment is required. Set travel limits so the top section stops just shy of the header and the bottom seal compresses lightly on the slab. Align photo eye sensors 4 to 6 inches off the floor and confirm the safety reversal by interrupting the beam and by placing a flat piece of wood under the door during a close cycle. Cables should spool cleanly on the drums without rubbing flanges.
Lubricate steel rollers, hinge knuckles, and the spring coils with a light household oil, and wipe excess off the tracks to keep dirt from sticking. Leave the track surfaces dry; the rollers must roll, not skate. Inspect lift cables near the bottom brackets and drums for broken strands, and snug loose track fasteners that can cause popping sounds. Do not loosen bottom brackets, center bearing plates, or torsion set screws unless you are trained and using proper winding bars; those parts hold stored energy. A short seasonal check of balance, lubrication, and weatherstripping keeps the door quiet, safe, and easier on the opener.
Planning a replacement around headroom, backroom, and sideroom prevents awkward compromises later. Matching door construction to spring torque and track radius makes operation smooth, while checking the slab and jambs helps you seal out wind and water from day one. If your measurements reveal low headroom, sagging framing, or a sloped floor, proven hardware paths and sealing methods can address them. Take the time to map the track line, flag obvious obstructions, and verify anchorage into framing. With those details settled before ordering, installation day is predictable,e and the finished door feels right from the first close.