
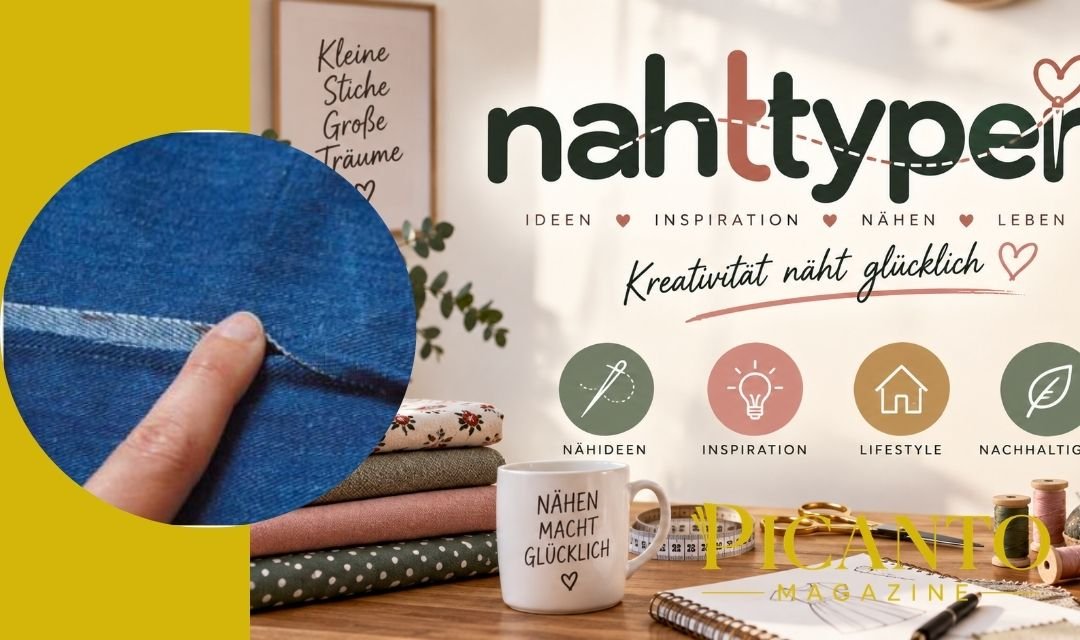
Nahttypen means “seam types” in German. In sewing, it describes the different ways fabric pieces are joined or constructed into a finished item. Understanding seam types helps explain why a delicate blouse, a pair of jeans, and a stretchy T-shirt need different approaches. The right choice affects strength, comfort, appearance, and how neatly the inside is finished.
Nahttypen at a Glance
| Term | Simple meaning | Example |
|---|---|---|
| Nahttypen | Seam types | Different constructions for joining fabric |
| Seam | The finished join between pieces | A shirt’s side seam |
| Stitch | How the thread forms the sewing | Straight stitch or zigzag |
| Seam allowance | Fabric between the stitching and cut edge | The extra width inside a garment |
| Seam finish | Treatment of a seam’s raw edges | Overcasting or binding |
| Hem | A finished outer edge | The bottom of a skirt |
These terms belong together, but they do not mean the same thing. Learning the difference makes patterns, tutorials, and sewing-machine instructions much easier to follow.
Why Seam Types Matter
Turn a garment inside out and look closely. You may see folded edges, wrapped thread, narrow fabric strips, or several rows of stitching.
Each construction solves a problem. Some prevent loose threads from escaping. Others keep a join flat, allow movement, or reinforce an area that receives regular strain.
A seam can look attractive while still being unsuitable for its fabric. For example, a bulky construction may spoil the way lightweight material hangs.
The goal is not to use the most complicated technique. It is to choose a join that works with the material and the purpose of the finished item.
Seams, Stitches, and Finishes: What Is the Difference?
Think of a seam as the arrangement of the fabric and a stitch as the way thread holds that arrangement together.
You can sew a plain seam with a straight stitch. You might then finish its edges with zigzag stitching. That gives you one seam construction using two different stitching operations.
Likewise, an overlock machine produces particular stitch formations. Depending on the setup and project, those stitches may join fabric, finish its edges, or do both. Coats distinguishes between overedge stitch formations intended for different jobs.
This distinction prevents a common mistake: assuming every stitch that wraps an edge is equally suitable for holding a garment together.
1. Plain Seam: The Essential Starting Point
A plain seam is the basic join many beginners learn first. For a typical woven-fabric project, place the right sides together, align the edges, and sew at the allowance specified by the pattern.
The “right side” is the surface intended to face outward. On printed fabric, it is usually the clearer or brighter side.
After sewing, press the seam as directed. Depending on the project, the allowances may lie open or together toward one side.
A plain seam is useful because it is straightforward and adaptable. Its raw edges may still need finishing, especially when the fabric frays during handling or washing.
Practise on two cotton rectangles before attempting a shaped garment piece. Focus on keeping a steady distance from the fabric edge rather than watching the needle alone.
2. French Seam: Enclosing Raw Edges Neatly
A French seam hides the cut edges inside a narrow fabric fold. It is often useful when the inside of a lightweight woven garment may be visible.
Unlike a typical plain seam, it begins with the wrong sides together. After the first line of stitching, the allowance is trimmed as needed, the fabric is folded with right sides together, and a second line encloses the raw edges. Sewing tutorials describe this two-stage construction.
The first and second sewing passes must work within the pattern’s total seam allowance. Do not choose their widths at random.
For example, on a practice sample with a 1.5-centimetre allowance, you could sew the first pass 0.5 centimetres from the edge, trim carefully, then sew the second pass one centimetre from the fold.
Test first. Thick fabrics and sharply curved seams can make this construction awkward or bulky.
3. Flat-Felled Seam: A Durable Enclosed Join
A flat-felled seam encloses the allowances and secures them flat against the fabric. It is familiar from jeans and other garments with visible, sturdy stitching.
Its folded construction and additional stitching create a clean finish without exposed raw edges. Sewing-machine teaching resources describe it as a durable seam with enclosed allowances.
It takes more planning than a plain seam. The allowance needs enough width to fold correctly, and thick intersections can become difficult to sew.
For a first attempt, use medium-weight cotton rather than very heavy denim. Mark your folds and work slowly.
Also distinguish a true flat-felled seam from a mock version. A seam can have similar-looking topstitching without enclosing its edges in the same way.
4. Lapped Seam: Overlapping the Fabric
In a lapped construction, one piece overlaps another. The arrangement differs from simply placing two pieces together and opening them after stitching.
Industrial seam classifications include lapped seams as a major group, with variations depending on how the layers are arranged.
The practical question is whether the overlapping edge needs additional treatment. Some materials resist fraying, while others need their cut edges protected.
Do not assume that one overlapping construction will work equally well for cotton, leather, felt, and stretch fabric.
On a sample, inspect both sides. Check whether the overlap stays even and whether the stitches catch the intended layers throughout the join.
5. Bound Seam Allowances: A Finished Interior Detail
Binding wraps a fabric strip around an edge. In garment sewing, it can be used to cover raw seam allowances and create a tidy interior.
The binding does not always form the main structural join. You may first sew a plain seam, then bind its allowances as a separate finishing operation.
Choose binding that suits the weight of the garment. A heavy strip can create a noticeable ridge inside light fabric.
A contrasting colour can become an intentional design detail, especially inside an unlined garment. Matching binding creates a quieter result.
Before committing, make a short sample containing every layer. Fold it as it will sit in the finished garment and decide whether the added thickness feels acceptable.
6. Overlocked Seams and Edges
An overlocker, also called a serger, can trim an edge while wrapping it with thread. This makes it useful for many garment-construction and edge-finishing tasks.
However, the thread configuration matters. Coats explains that different overedge formations offer different properties, and not every configuration is intended for a load-bearing join.
Follow your machine manual and pattern rather than selecting a setup only because it looks neat.
If you do not own an overlocker, that does not stop you from sewing. Depending on the fabric, a conventional machine’s zigzag or suitable overcasting stitch can help control fraying.
Remember that the cutting blade removes fabric. Practise before placing an important garment piece under it.
7. Flat Seams: Reducing Bulk
Flat seam constructions aim to avoid a raised ridge at the join. They can be useful where thickness or rubbing would make a garment uncomfortable.
Specialized industrial flatseam stitch formations are used for flexible, low-profile joins. Coats describes these as capable of producing comfortable seams with substantial extension.
The terminology can be confusing. A domestic overlocker’s flatlock technique is not automatically identical to an industrial flatseam construction.
Check what a tutorial means before copying its settings. Similar names do not guarantee the same machine, thread arrangement, or result.
Judge the sample by its performance: does it lie flat, stay secure, and move as the project requires?
Hems and Topstitching Are Related, but Different
A hem finishes an outer edge, such as the bottom of trousers or a sleeve. It is not necessarily a join between separate garment pieces.
Topstitching is visible stitching worked from the outside. It may secure an allowance, reinforce part of a construction, or add decoration.
These operations often appear in discussions of Nahttypen because they influence the finished appearance. However, calling everything a seam can make instructions harder to understand.
When reading a pattern, identify the job first. Are you joining pieces, protecting a cut edge, securing a fold, or decorating the surface? That question helps you choose the correct technique.
Choosing a Construction for Your Fabric
Start with four questions: does the fabric stretch, does it fray, how thick is it, and how much strain will the finished join receive?
These factors are more useful than choosing a seam simply because it looks professional. Coats identifies strength, stretch, bulk, appearance, and softness as considerations in suitable seam design.
A light woven blouse and close-fitting sportswear ask different things of their seams. One may need a discreet enclosed edge; the other needs a construction that accommodates movement.
Your pattern’s instructions are the starting point. If you change the recommended technique, test whether it changes the fit, thickness, or available allowance.
Seam Allowance: The Detail You Should Not Guess
Seam allowance is the distance between the stitching line and the cut edge. It is part of the pattern’s construction plan.
Using a wider allowance than instructed can make a garment smaller. Using a narrower one can make it larger or leave too little fabric for the intended finish.
Some patterns include allowances; others require you to add them. Check before cutting.
French seams, bindings, and flat-felled constructions may need particular widths. Decide how you will finish the seam before removing fabric with scissors or an overlocker blade.
Once that fabric is gone, restoring the original allowance is not always practical.
Pressing Makes Sewing More Accurate
Pressing is not merely a final step to make a garment look presentable. It helps control folds and prepares seams for later operations.
Use a temperature and method suitable for the fabric. Test an offcut first, especially with delicate, coated, or heat-sensitive materials.
Press rather than repeatedly dragging the iron across the seam. Excessive movement can distort some fabrics.
If a ridge or shine appears, reconsider the heat, pressure, and surface beneath the garment. A pressing cloth may help, but it is not a substitute for checking the material’s requirements.
Let a pressed section settle before pulling it into the next sewing operation.
Common Mistakes and How to Avoid Them
One frequent mistake is choosing an elaborate finish without checking its thickness. A beautiful sample can become bulky where several seams meet.
Another is pulling fabric through the machine. Guide it without fighting the feed mechanism; if it is not moving correctly, stop and investigate.
Very short stitches are not a universal solution for stronger seams. Excessive perforation can be unsuitable for some materials.
Finally, do not change several settings at once while troubleshooting. Adjust one factor, sew another sample, and compare. This makes it easier to learn what actually improved the result.
A Simple Nahttypen Practice Project
Create a small seam-sample collection before starting a complicated garment. Cut matching rectangles from spare woven cotton and label each sample.
Begin with a plain seam, then try a French seam and a flat-felled construction. Keep the fabric consistent so the differences are easier to see.
Write down the allowance, needle, thread, and stitch settings used. Add a note about whether the result feels thick, flexible, tidy, or difficult to sew.
The purpose is not to produce a perfect display. It is to build a reference you can handle and compare when choosing techniques for future projects.
How to Check a Finished Seam
Look at the front and back. Check for skipped stitches, loose loops, uneven folds, and raw edges escaping from enclosed areas.
Then assess it in the way the finished item will be used. Gently move or stretch the sample only as appropriate for its material and purpose.
If the item will be washed, test a sample using the intended care method. Some problems become clearer after handling and laundering.
A good result should satisfy more than appearance. It needs to suit the fabric, remain comfortable where necessary, and hold together under its intended everyday use.
Final Thoughts
Nahttypen becomes easier to understand when you separate three ideas: how fabric is arranged, how thread joins it, and how exposed edges are finished.
You do not need to master every technique immediately. Begin with a reliable plain seam, learn one enclosed finish, and add other constructions as your projects require.
The best seam is not always the fanciest. It is the one that suits the material, supports the design, and gives the finished item the strength and comfort it needs.
Frequently Asked Questions
What does Nahttypen mean?
Nahttypen is German for “seam types.” In this article, it refers to sewing and textile construction.
Which seam should a beginner learn first?
A plain seam is a useful starting point. Practise an even allowance and suitable edge finishing before trying more involved constructions.
What is the difference between a French seam and a flat-felled seam?
Both enclose raw edges. A French seam forms a narrow enclosed allowance, while a flat-felled seam folds and secures the allowance flat against the fabric.
Do I need an overlocker?
No. Many projects can be completed on a conventional sewing machine using appropriate seam constructions and finishing methods.
Is a zigzag stitch a seam type?
Strictly speaking, it is a stitch pattern. It can be used in a seam or as part of an edge finish.
Which seam is strongest?
There is no universal answer. Strength depends on the fabric, construction, thread, stitches, and the direction and amount of force applied.
Can I change the seam recommended by a pattern?
Sometimes, but check the allowance, fit, stretch, and bulk first. Make a sample before changing the construction on your final fabric.
For more info, visit Picanto Magazine.